Buying Guides

Food prep, kitchen knives and preserving
Get creative in the kitchen with our guide to specialist equipment for preparing and preserving food.
If you need advice on cookware, take a look at our cook and bakeware buying guide.
Mixers and Food Processors
The important question to ask yourself before deciding is: what do I want the machine to do?
If it’s a matter of whipping cream or eggs then a hand mixer will suffice, but if you regularly bake cakes and bread then a stand mixer will be more up to the task.
If you like to entertain, then it’s worth looking at a food processor or stand mixer with lots of attachments. It may seem an expensive option, but its longevity and versatility will prove good value.
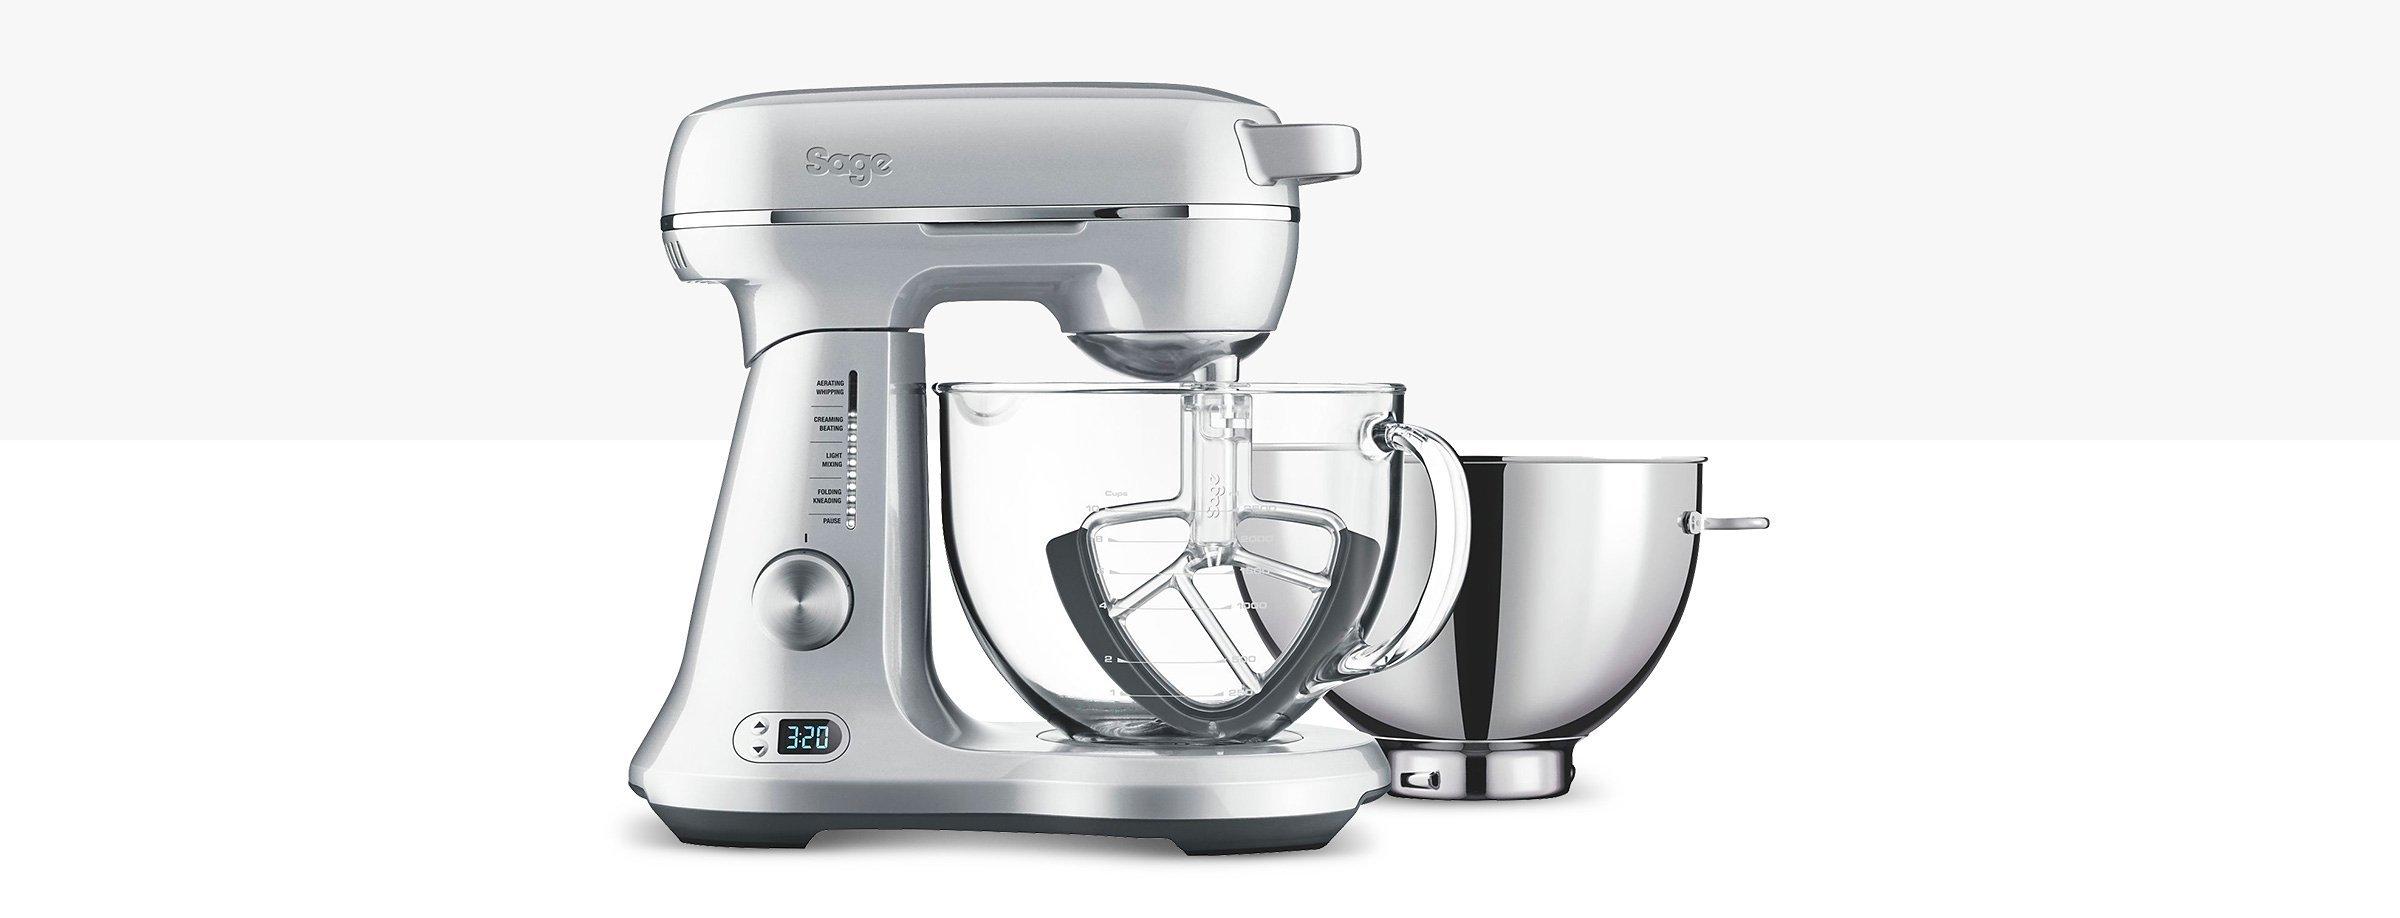
Stand mixers
- Versatile
- Come with a wide range accessories and attachments
- Prices range from around £100 to £800
- Well-loved brands include KitchenAid and Kenwood
Hand mixers
- Small and convenient for light mixing
- Great for anything from cakes and biscuits to meringue
- Start at as little as £16 and go up to £200
Food mixers
- Much larger than most food preparation gadgets
- The choice of serious bakers
- Lots of attachments and capabilities
- Great for anything from cakes and biscuits to scones and bread
- Some include a spiralizer for healthy eating
- Others might have an ice cream bowl for homemade ice cream
- Most supplied with a whisk, dough hook and beater as standard
- Other tools usually need to be purchased separately
Food processors
- More compact than stand mixers, and very versatile
- Basic models have a series, belt-driven motor
- Higher priced ones are fitted with induction motors
- Supplied with a series of attachments for multi-tasking
- Ideal for soup, smoothies, dips, baby food, sauces, bread and whipping up meringues and cakes
- Price reflects which attachments they are supplied with
- Most models are calibrated for easy measuring
- Many are supplied with a handy storage unit for the attachments
- Favoured brands include Magimix, Kenwood, KitchenAid and Tefal
Cooking food processors
- More expensive that regular food processors
- Prepare and cook ingredients in one
- Most will do everything from chopping to cooking and steaming
- Usually come with a LCD screen for easy operation

Motors
The power of the machine doesn’t just come down to wattage - often it’s more important to look at the type of motor it has
Series motor - A belt driven motor which can handle variable speeds. It’s noisier, so tends to be installed in the more basic models
Induction motor - Used in commercial machines, they produce the one, optimum speed for the job required. They tend to be quieter
Drive motor - Similar to the induction motor, its direct transmission takes the load off the motor so less wattage is needed
Capacity
Some exceed a 4-litre capacity and often have a series of bowls depending on the task. Smaller machines may be limited to what they can do
Juicers & Blenders
Juicers
- Some designs are simple and can be hand-operated
- Others are ‘use the whole fruit’ machines
- Some can only handle citrus fruits
- Centrifugal juice extractors can handle a wide variety of fruit and vegetables
- Some even have a ‘coulis’ function
Blenders
- Hand and stick blenders can whisk, purée and crush
- Price tends to be dictated by capacity, speed and power
- For instance, more powerful blenders can crush ice easily
- Usually have a choice of speeds
- Some have a built-in speed sensor
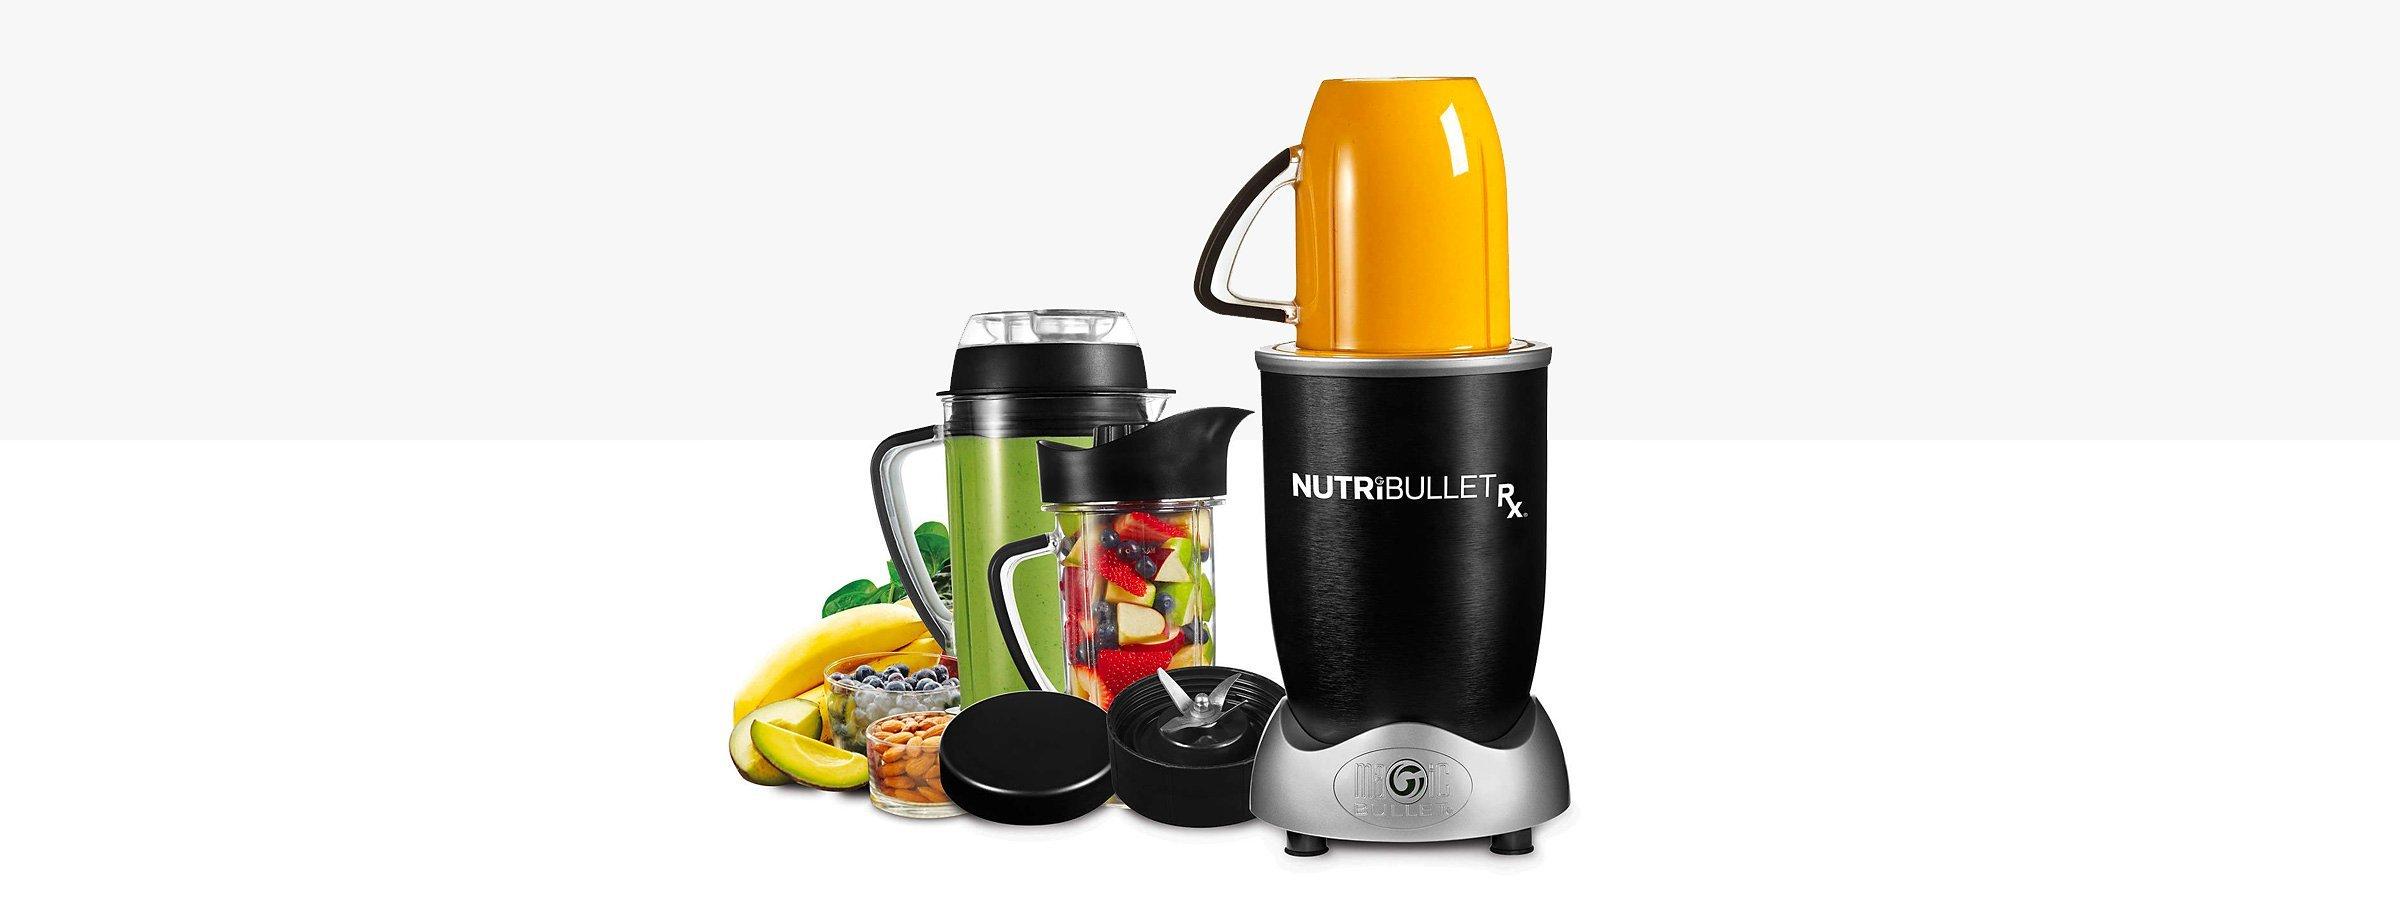
Personal Blenders
- Blend straight into the takeaway cup
- Perfect for smoothies on the go

Kitchen knives
Kitchen knives are shaped to suit each particular job – depending on how frequently you cook, you can either keep to a few versatile knives that will cope with most tasks or choose a selection of purpose-made ones. Whether you need a new set of kitchen knives or a certain type to fulfil a specialist need, we have a vast selection available.
Good-quality kitchen knives are essential tools and often a cook's most prized asset in the kitchen. Our kitchen knives buying guide looks at the different types of knives, blades and materials available to help you make the right choice.
Please note
To buy a kitchen knife on our website or app, you'll need to confirm you're over 18 at both checkout and delivery. Find out more about how it works here.
If buying in store, we’ll ask to see your valid UK driving licence or passport.
Buying a basic collection
If you simply want to purchase a few basics for everyday use we recommend:
Paring knife
A small knife for the preparation of small vegetables or fruit. The blade is 7-10cm long and is firm with a sharply pointed end for picking out pips.Cook's knives, 1 large 1 smallCook's knives are good all-purpose knives which help you tackle larger scale chopping jobs
Bread knife
Bread knives have rigid serrated or scalloped edges which cut through a hard crust on a loaf without tearing or squashing the softer centre – this also makes it the best knife for slicing tomatoes!
Carving knife
A carving knife has a 20-26cm flexible blade with a sharply pointed tip to help free meat from the bone - it can be plain or serrated.
Buying a full collection
In addition to the basics recommended above, you can create a full collection capable of any task with these additions:
Utility knife
A general purpose knife with a serrated edge and blade about 13cm long - use it to cut meat, larger vegetables and prepare sandwiches.
Boning knife
Designed for prepping raw meat and poultry, this knife has a narrow, rigid blade which curves upwards, making it easy to work the blade around the bones.
Cleaver
A cleaver has a strong, thick heavy blade with a slightly curved edge and is used to chop meat and sever and prepare joints but should not be used to chop through large bones. Use a saw instead.

Jargon buster
Fully forged
Fully forged knives are the best quality, made from a single block of steel
Hardening and tempering
Processes knives are put through to produce a hard, durable blade.
Tang
The part of the blade which attaches the blade to the handle
Full tang
A tang which runs the full length of the handle to provide strength and balance - a feature serious cooks look for
Whittle tang
Whittle Tang knives have only a short point which extend into the handle and cannot be seen. They are only suitable for lightweight work.
Stamped
Cut from a continuous strip of stainless steel, they’re not as durable as fully forged knives but offer good quality and value for money.
Taper ground
Taper ground blades are the best quality - the whole blade is ground which produces a blade with a fine sharp and very strong cutting edge
Hollow ground
Not as durable as taper ground blades - only the bottom part of the blade is ground to form a cutting edge
Half tang
A tang which extends part way along the handle - these are suitable for general work
Preserving
Make the very most of seasonal fruits and vegetables by creating your own jams, chutneys and preserves
Essential equipment
Making jam uses surprisingly little equipment - we recommend the following to ensure your jam looks and tastes delicious:
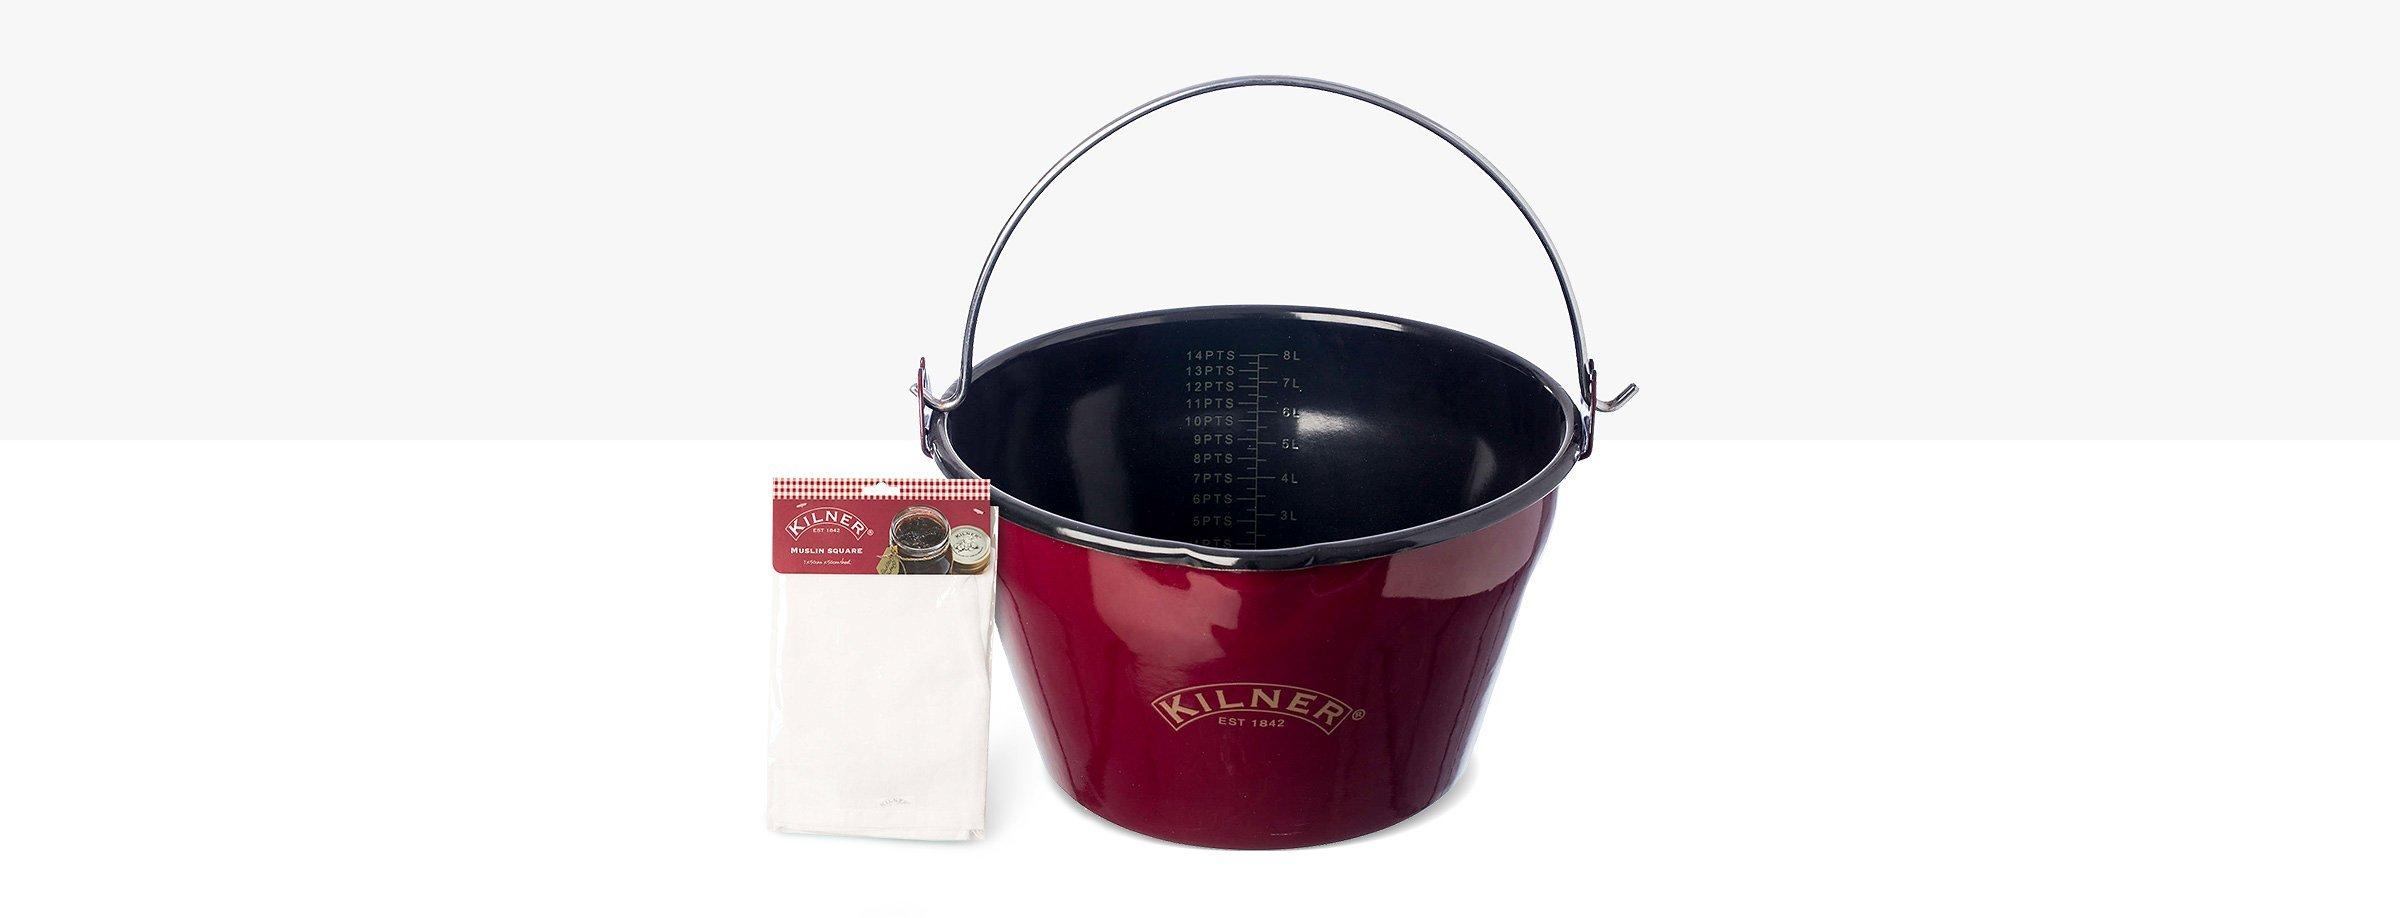
Jam pan
Large and deep with wide sides that provide better heat distribution and allow you to boil the contents safely
Filling funnel
Fill jars quickly and easily with minimal mess
Straining funnel
A smaller funnel that removes pips and seeds or to fill smaller jars
Jar tongs
Remove sterilised jars from boiling water without burning your hands
Clip-top jar/bottle
Ideal for clear pickles and home brews
Jam thermometer
Essential when making jams or preserves that require a certain setting temperature
Muslin cloth
Use for straining jellies and wiping jars
Preserve jar
A disc and metal band vacuum seal the contents inside
Long-handled spoon
For mixing very hot liquids safely
Buying a full collection
Sterilising
One of the keys to preserving success is a sterilised jam jar – without it, fermentation and mould could ruin all your hard work. There are a number of methods that remove bacteria from the jar:
Oven
- Wash your jars in hot, soapy water and rinse well to ensure all the suds have gone
- Remove any rubber seals before placing in the oven and boil them sterile instead
- Heat the oven to maximum 140°C/120°C Fan/Gas 1 and put the jars on to a baking sheet in the oven to dry completely (no hotter, or the glass may crack)
Dishwasher
- Remove any lids and rubber seals from the jars and put everything in the top rack of the dishwasher
- Put on a hot wash without any detergent
- Keep the jars, lids and seals inside the dishwasher to keep them warm until you’re ready to fill them
Water bath
- Remove any lids and rubber seals and put them into a separate saucepan to simmer for 10 minutes
- Place the jars into a large pan of water and boil at maximum temperature for 10 minutes
- When you’re finished sterilising the jars, lids and seals, cover the pans to keep them warm until you’re ready to use them
Setting
The magic temperature for making jam is between 104°C and 105°C, which is where it sets.
To test, place a spoonful of hot jam onto a cold plate (preferably one that has been in the freezer for 10-15 minutes) and push it around the plate with your finger. If the surface wrinkles, it has set. If it doesn’t and acts more like liquid, test again after another 3-5 minutes.
Start testing early and, if you suspect it is getting close to the setting point, remove the pan from the heat so it doesn’t overcook.
Tips to combat common problems
1. Jam not setting
This can be for a wide range of reasons:Too much or too little sugarToo little pectin, or using fruit with naturally low pectin levels without supplementUsing fruit that is over or under-ripeOvercookedSolution: Tip the jam back into the pan and bring it to the boil again, stirring continuously. If this doesn’t work, add in some more pectin gradually to ensure it doesn’t set hard.
2. Jams with different consistencies
Fruits have their own individual natural pectin levels, making some thicker and some needing a bit of helpSolution: Try adding extra pectin
3. Cloudy jam
This is usually the result of:
- Under-ripe fruit
- Juice that wasn’t strained properly, allowing pulp through
- Too high in pectin, leading to it setting too fast
- Jelly cooled before being poured into the jars
Solution: Tip the jam back into the pan and bring it to the boil again, stirring continuously. If this doesn’t work, add in some more pectin gradually to ensure it doesn’t set hard.
4. Crystallised jam
This usually happens because there is too much sugar or it hasn’t dissolved fully before boilingSolution: Although the jam is still perfectly edible, you can try reheating it to dissolve the excess sugar

Jam step-by-step
If you’re new to preserving, give our easy strawberry jam recipe a go.
You can substitute the strawberries for 1kg of any fruits or vegetables of your choice, from blackberries to pineapple.
Ingredients
1kg strawberries
1kg jam sugar
Knob of butter (optional)
Method
- Wash the strawberries, remove all stalks and leaves, dry on kitchen paper and place into the preserving pan
- Mash the fruit to your preference - leave some whole if you like texture or use a stick blender if you like it super smooth
- Bring the mixture to the boil, then reduce the heat and simmer for 20-25 minutes, or until softened
- Add the jam sugar to the mixture and stir well until the sugar has completely dissolved, then bring the mixture back to the boil
- Boil the jam, stirring continuously to avoid burning until the jam reaches 104-105°C
- When it comes to the boil, you can either skim off any scum with the ladle or add the knob of butter which will clear it
- Remove the mixture from the heat and carefully ladle the jam while still hot into sterile jars, using a jam funnel
- Put the lids on quickly as you fill each jar and once jars are cool enough to touch, add labels
Preserving glossary
Jelly
Fruit juice/strained fruit
Preserve
Chunks of fruit in a syrup/jam (made with pectin)
Pickle
Raw and whole (with vinegar and salt to preserve) or larger cooked pieces with sweet vinegar
Jam
Pulped/crushed fruit (made with pectin and boiled)
Chutney
Seasoned with spices and can be wet/dry and have any texture
